Sending queries to the database
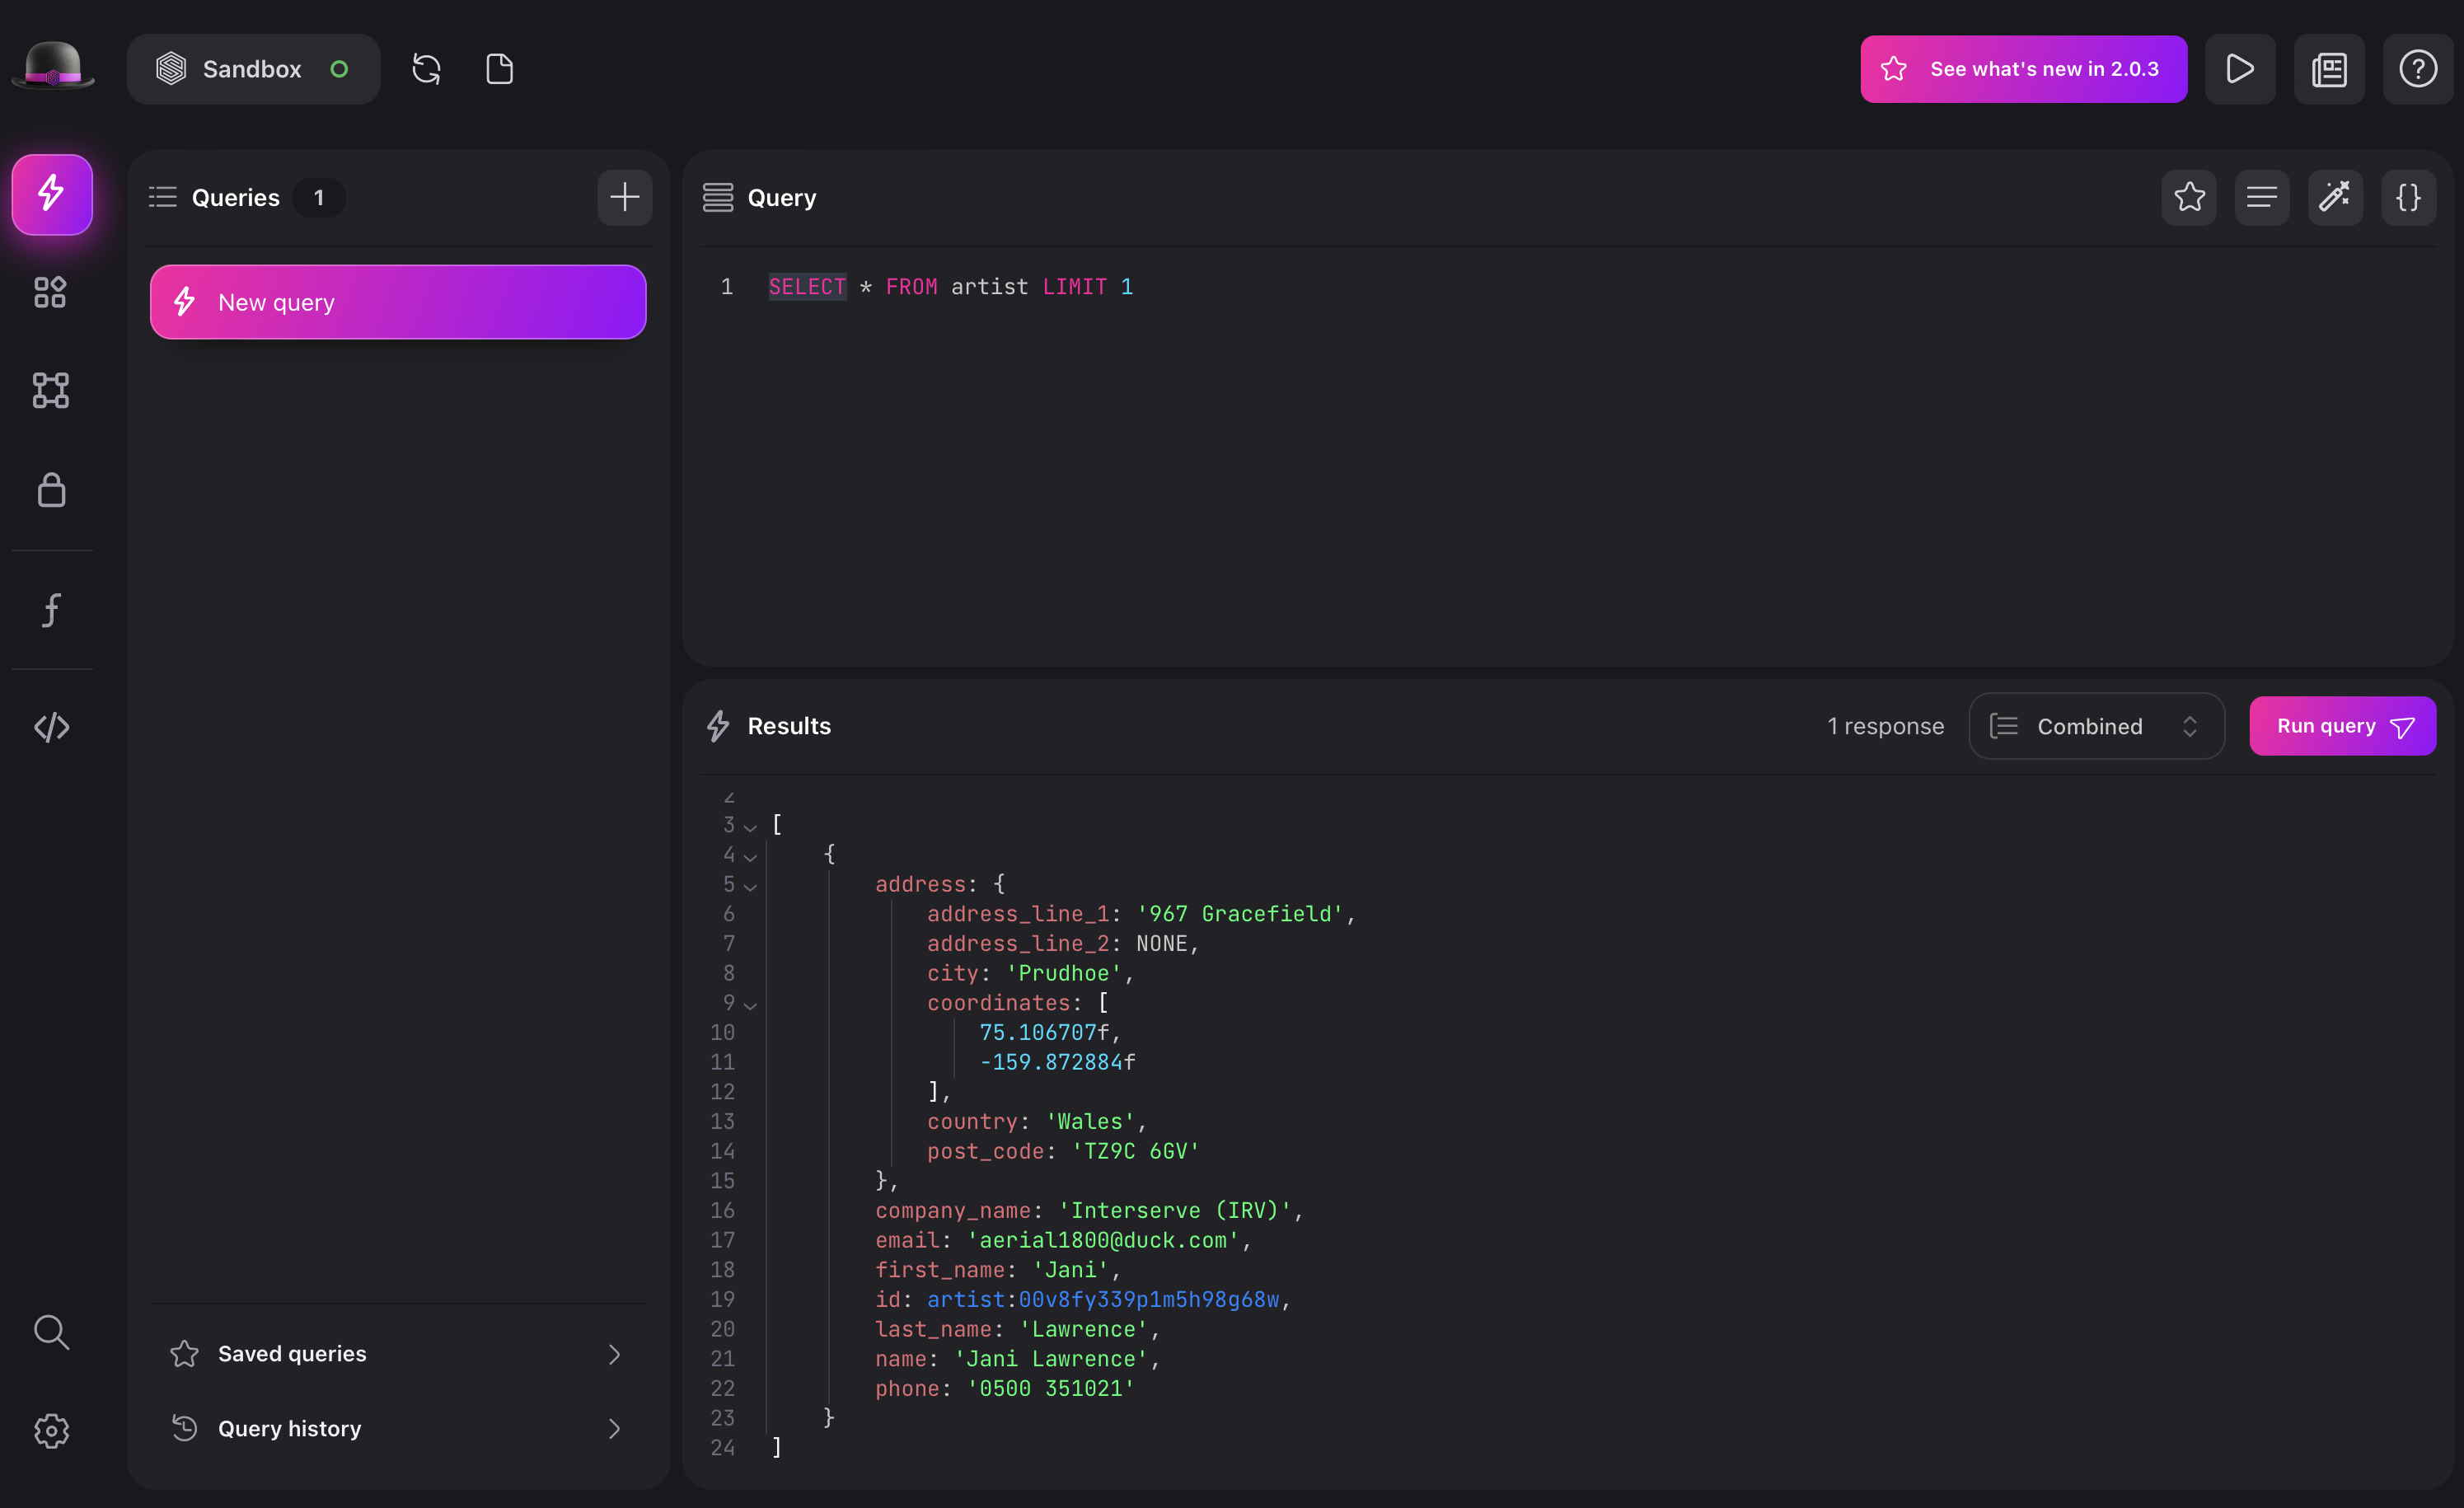
The first view you encounter when starting Surrealist is the Query view. At its core the Query view allows you to execute SurrealQL queries and view their responses, however additional features include configuring variables to use within your queries, saving queries for later use, and viewing incoming live select messages.
Queries panel
The panel on the left of the Query view lists out your active query tabs. Each tab has its own query editor, so you can work with multiple queries at once and keep your workspace organised. You can double-click a tab to rename it, and right-click a tab to reveal additional actions.
Additionally, near the bottom of the queries panel, you can find buttons to open the query history and view your saved queries.
Query history
The query history drawer will show a list of recently executed queries for the current connection. Right click any query and choose “Open in new tab” or “Open in current tab” to bring it back into your query editor.
Saved Queries
The saved queries drawer lists out any queries you have saved, which you can do by pressing the saved query button underneath the query editor. This is useful for queries you intend on executing frequently or would like to use in multiple connections.
Saving a new query
To save a query, press the save query button at the top right the query editor. You will be prompted to enter a name for the query, after which it will be saved and listed in the saved queries panel.
Variables panel
You can reveal the variables panel by pressing “Show variables”. Any variables you define in here are made available to your query. Use the convenient “Infer from query” button to analyse your query for variables and automatically define them.
Results panel
After executing a query the result of the query will be displayed in the results panel underneath the query editor. This panel lets you visualise the response in multiple ways, so pick the most convenient one for your use case.
-
Combined mode: will list all query responses in a single list. This is especially useful for requests with only a handful of statements or when you would like to view all responses at a glance.
-
Single mode: will display each response separately and provide navigation buttons to switch between them. This is mostly useful when you are sending many queries at once or would like to focus on each response individually.
-
Table mode: presents your responses in an interactive table similar to the Explorer view. You can press any record id to view and edit the record in the inspector panel.
-
Live mode: will display incoming messages received by any LIVE SELECT queries sent in your request. You can also terminate active live queries here as well.